Friday, July 12, 2024

Double Wonder/One Sheet Wonder Class Projects and Recap


Hi Everyone,

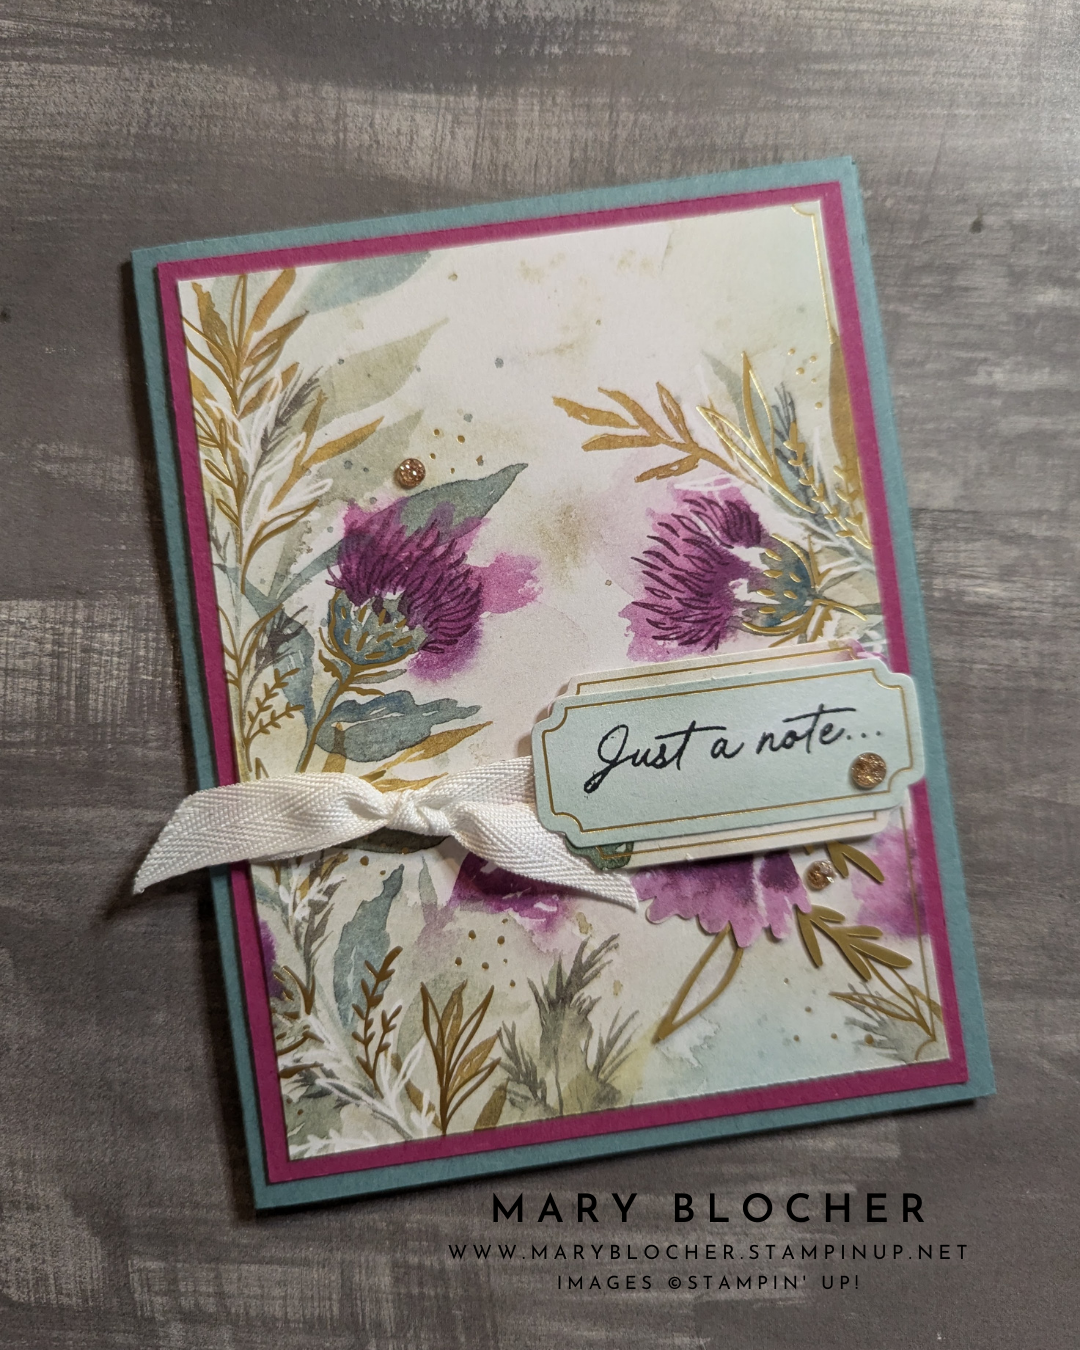
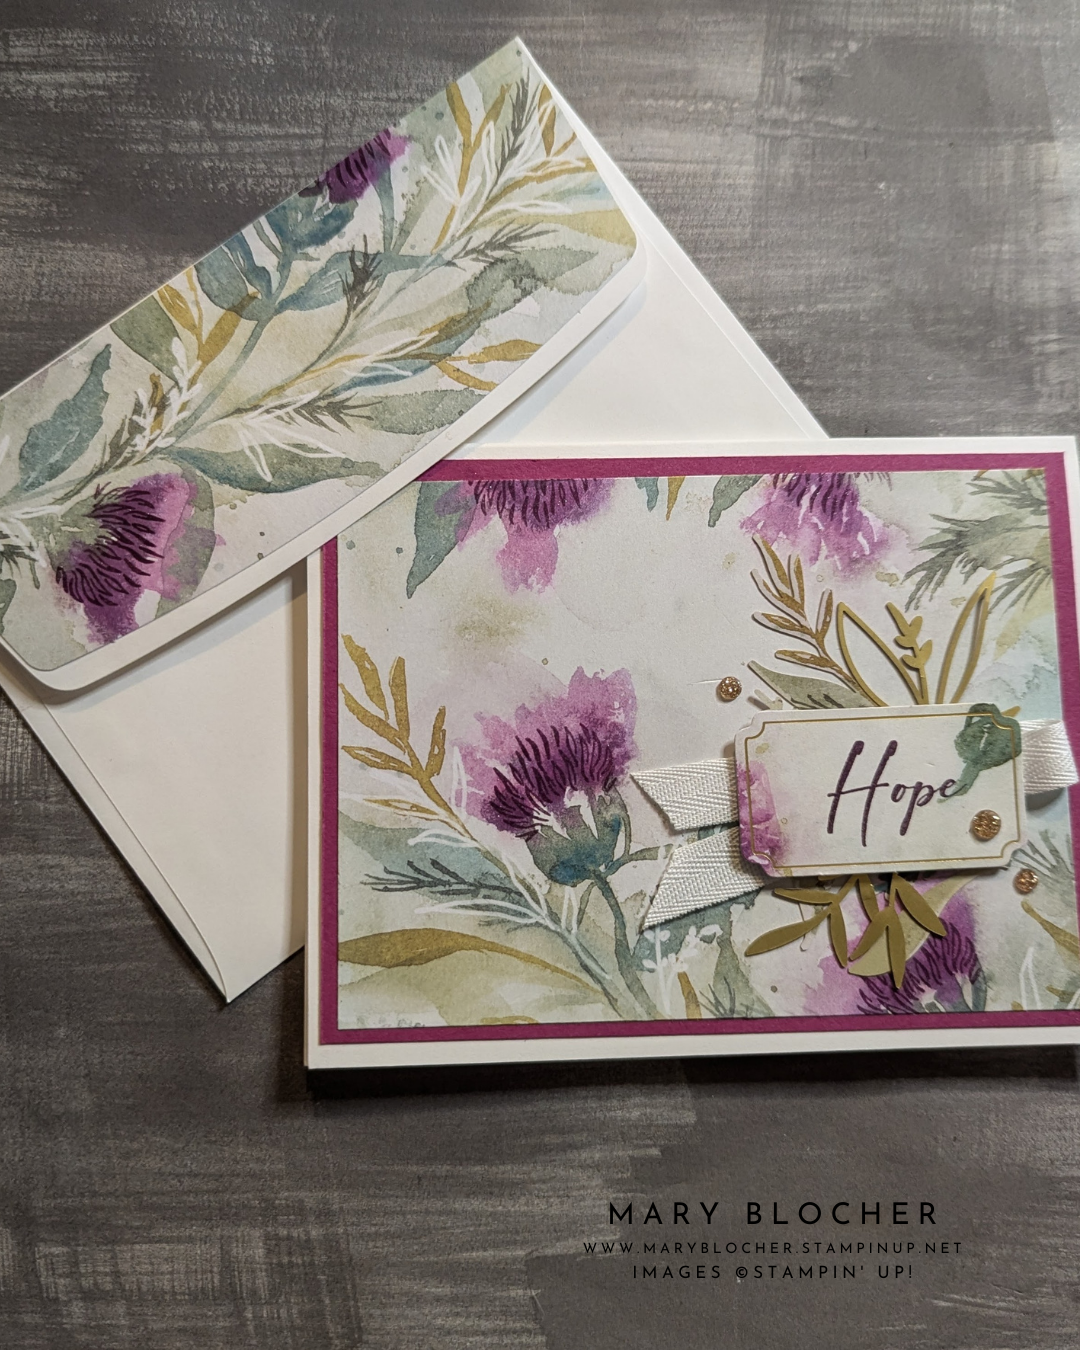
Thanks for stopping in and checking out my Double Wonder/One Sheet Wonder Class projects. I loved this sketch by Shannon West a Stampin' Up! employee and demonstrator. Julie Davison created the PDF for the One sheet wonder which was so helpful. shout out to Julie.

When you look at this layout, it uses 2 sheets of DSP. You choose 2 complimentary DSP designs. Then you lay them together and cut at 
6" x 12". You then will use the 6" x 12" pieces (just 2 of them) for these projects. What's great is that you can repeat again with the other at another time. 

The card layouts that I am sharing will reflect the above template for cutting the DSP. It will go from right to left. For the first layout of 4 cards, I just the DSP at 4 1/2" from the end of the 6" x 12" pieces (keep the pieces together). The I turned the DSP at cut at 3". Then I cut those 3" pieces to 1 1/2". 
A couple of things to note on this first layout is that I used all white mats for all four projects. My one sample shows a Calypso Coral mat for the DSP, but I liked all of them to be white. Participants in this class got all of the embossing and tags for sentiments included. One thing I really like about this One Sheet Wonder is that the cards can be so different looking depending on the sheets of DSP you use. It was wonderful to see creativity of others. Here are a couple of cards from those who attended at my Stampin' Café. Notice what DSP designs they have.

Susan found a great use for the large "c" shaped piece and added flowers

I loved Julie's use of one of the wreaths with added flowers

Now Jessica created a super cute design with the flower pieces from the kit!

For the next four cards, I cut the next part of the DSP at 4". Then I turned the DSP to cut a 3/4" strip off the bottom. Then I turned it back so I would have 1" x 5 1/4" strips.


What I liked about this layout, is that I was able to do a little fancy fold for two of the cards. You can do this for all if you would like. I scored at 4 1/4" and 1 1/4". Then I folded back the 1 1/4" piece. The 1" DSP strips are perfect for this. *A note for these cards is that I included a white layer for the inside of the cards that you glue the DSP strip to it. Here are a couple more ideas from participants.

Susan switched up the base colors and created a beautiful sympathy card

Pam really went all out on this card and it's stunning!

Susan's wishing for a white Christmas with this pretty card

For the last projects in this One Sheet Wonder is already at 3 1/2" x 6". I turned the DSP and cut off a 2 1/4" piece and repeated again. Then I took the last strip, turned in at cut it in half at 1 3/4". This yields 2 cards + a bonus card. 
These cards turned out great. I didn't use the strips from layout 2 that were left over. I added them on the insides of the cards. I used a Pretty Peacock ribbon for one. The card on the right, I used one of the Frames & Flower pieces that had a rectangle space for a sentiment. I cut that apart and raised up that rectangle onto another cardstock piece. Then I added the greenery pieces back in place and added more embellishements. Let's see some other ideas.

Christ got more of that Pretty Peacock ribbon showing on her design

Another great technique that Christ did, wat to cut little strips of the cardstock or DSP to add more greenery 

What a super fun Double One Sheet Wonder Specialty Class. It was great to see everyone's creativity. I really like how the projects could vary depending on the DSP choice. In this class, I also provided 2 extra bonus projects. I think they were great.


This bonus project uses one of the pieces in the Frames & Flower Specialty papers. I love the diamond window! The class I offered also had the option to add the Poised Peony stamp set. I just loved using the Celebrate die from the Wanted to Say Die set. 


For this bonus card, again I used one of the layering pieces from the Frames & Flowers specialty DSP and created a shaker card. This is super easy! I took a medium clear envelope (Stampin' Up!). I added a piece of Basic white inside that measured just a bit bigger than the window. I added some fun frosted dots and others. Then folded the envelope over and sealed it. Then you just attached the DSP to the clear envelope and adhere it to the card base. 

I added a gift card pocket on the inside of the card. I took one of the DSP "cards" from the Frames I Flowers DSP and cut it in 1/2. I then folded each side just a smidge and glued the sides and bottom down to form the pocket. 


Did you know that this is the second time that the Frames & Flowers 12" x 12" Specialty paper has been unavialble? I even had to postpone my class by a couple of weeks. I do have two extra Double Wonder/One Sheet Wonder kits available. You will get the Frames & Flowers DSP, Rainbow Adhesive-Backed dots, a stamp case and supplies to create 13 fabulous projects like the ones I shared today. This is a $35 kit plus $9 shipping if needed. I only have 2 kits available, so it's first come. first served. Fill out this form asap to not miss out.

I also recorded a video for an overview and some tips and tricks. These are my ideas, but I encourage you to add your own creativity and flair to your projects. Reach out of you have any questions.


Until next time...
Happy Stampin',
Mary Blocher
Mary's Stampin' Café


Tuesday, July 9, 2024

July 2024 Sheetload of Cards Special 5" x 7" Edition


Hi Everyone,

Thanks for stopping in today for my July Sheetload of Cards Special Edition. I hope my card gives you cooling thoughts from all this hot weather we have all been experiencing. 


The Ice Cream Bundle by Stampin' Up! is pefect for this 5" x 7" card. When the July Sheetload of Cards came out from Crafty Al, I knew right away what supplies I wanted to use. As you can see, the ice cream cone is a large one (don't we all want a large cone on a hot summer day?)


I think my favorite part of this card is how bright and bold it is. The designer paper is so bubbly and fun. This was from a retired holiday paper called Merry and Bright. It's just super cute!


You can check out the monthly sheetload of cards on YouTube. Simply look up "sheetload of cards" or use @callmecraftyal in the search bar. These templates are free each month. They are perfect for quick multiple cards. 


I host Make a Card/Send a Card groups during the year. These sheetload of cards make it so easy and fun to create. In the card groups, members create 6 cards to send to 6 people by the 6th of each month for 6 months. I create the groups with mailing information for everyone. Our "Spring" edition is finishing up and new groups are being formed. Make a Card/Send a Card groups are not demonstrator only. You can use whatever crafting supplies you have to participate. This is a fun social stamping event. It's all about using your supplies and connect with others. 


Want to learn more about the Make a Card groups? Simply click the link here for more details. 


Thanks again for stopping in. Let me know what you think of my sheetload of cards. I hope I've inspired you to create your own sheetload of cards for this month. Be sure to share if you do. 

Until next time...
Happy Stampin',
Mary Blocher
Mary's Stampin' Café 

Monday, July 8, 2024

My Second Christmas in July Card with Nest of Nature Suite of Products from Creativity Now Event


Hi Everyone,

Thanks for stopping in today to see my creation. I loved the Creativity Now Event that was a virtual event hosted by Stampin' Up! This was a four hour event where we got to create several great projects and hear about the creating process for papers, stamps, and suites. I have participated in several of these events and I think this year was my favorite. Here are a few of the projects that we created. Then I'll talk about my newest card for today.


The focus for this event was with the Nest of Nature Suite, but we really used the Winterly Tree Tops Bundle. I'm pretty sure these products will become available in September with the release of the September-December 2024 Mini Catalog.


I liked that the second and third cards tied in together. We used the negative of the ordering frame dies as a mask for the third card. I loved the look of the varing green color you got on the branches as you used the Blending Brushes. 


This last project was created as a gift box. I used the mini Paper Pumpkin boxes. These would be perfect with a set of notecards and envelopes with matching designs. 


It was such a nice morning crafting with my demonstrator friends Arla, Julie, and Gabby. 


Of course this event got me so inspired to create more with this fantastic suite. One thing that I really like is when Stampin' Up! designs their beautiful Designer Series Papers to coordiate so well with the stamp sets and Bundles. The Winterly Tree Top dies will cut out the birds in one of the sheets of the Designer Series Paper (DSP). Since you get two sheets of the same design, you can have so many birds for your holiday or other occasion projects. 


My card project really focused on the beautiful Nest of Winter 12" x 12" DSP. I just love that I have so many die-cut birds that are beautifully designed and colored by Stampin' Up! Artists. They are so pretty on this card.


When you die-cut images from the DSP, be sure to die-cut those on the edges too. They can be used for edges of your cards. I did this for the inside of my card.


I hope you enjoyed my projects and are getting inspired to get a head start of your holiday cards. I have a cardmaking class every 3rd Saturday of the month. This month the four projects are all holiday themed. You can check out my events and if you are local, reach out and reserve your space. 

Be sure to stop back and check out other Christmas in July projects I might share. 

Until next time...

Happy Stampin',
Mary Blocher
Mary's Stampin' Café


Thursday, July 4, 2024

Christmas in July First Cards with Gorgeous Designer Series Papers


Hi Everyone,

Happy July, well Christmas in July to be exact. With the hot and scorching temperatures across our United States, it's a refreshing time for sharing some holiday cheer. With the release of the new Online Exclusives, there are many new holiday products to choose from to get your holiday crafting started.


This first card I created uses the Season of Gold and Green Suite. There are two stunning Specialty Designer papers and two bundles. The Golden Greenery Bundle and Greetings of the Seasons bundle. 


I love the stunning Graceful Greenery Vellum! The designs and colors are so beautiful. What's even better, is that several of the dies fit the images on the vellum.


The Golden Greenery Dies also cut out some of the images in the Season of Green and Gold 12" x 12" Specialty Designer Paper. I love the way Stampin' Up! designs their papers. It makes projects look so artistic without so much work. 


This next card I created focuses on the Green and Gold 12" x 12" Specialty Paper. I was using card supplies from past classes and this card created a more vintage "pink" and green card. I love it!


I had to fussy cut the bells with the bow, but used the dies to die-cut the other two bells. I also wanted to tone down the brightness of the Bubble Bath piece, so I used a piece of the Graceful Greenery Vellum to lay over it. I love the look of it. 


You may have noticed the shimmer on the bells. I shared a technique during my Facebook Live Stream on Wednesday evening. You can check it out. I love the antique look of the bells.


Thanks so much for stopping in to cool off from the summer heat and share in my first Christmas in July project. You can check out another on Saturday for my Stampin' Saturday YouTube video. Be sure to check out all the promotions that just began. You will love what's happening. 

Bonus Days Earn in July/Redeem in August

New Online Exclusives

New Kits Have Arrived

I hope you are in love with so many wonderful new products as I am. Be sure to stop back again or join me over at Facebook for more creativity.

Happy Stampin'
Mary Blocher
Mary's Stampin' Café

Monday, July 1, 2024

Lovin' Kits by Stampin' Up! Who are They For? Everyone From Beginner to Avid Crafters


Hi Everyone,

Thanks for stopping in today. Maybe you are popping in from my Kickin' it with Kits YouTube upload or simply following my blog. I appreciate everyone who shares in my creativity. Today I'm sharing some alternate projects I created with the Expressions of Kindness Kit.


Stampin' Up! Kits are great! They are all inclusive and you don't need additional supplies to create with them. I loved the design of this kit so much, but I wanted to take some time to add my creativity to it too. The top right card was created just like the sample. I wanted to add more layers and color, so I cut the card base in 1/2 and then created from there pulling in other cardstock that coordinates with this kit.


The other card base had designs on the front and back of the card. I love to double my crafting fun by cutting the card base in 1/2 and getting 2 cards out of one card base. I used Lost Lagoon and Berry Burst as my new card bases. 


The next two projects are the most altered. I wanted to use the bits and pieces of the supplies I had left as well as bringing the beautiful envelopes into cardmaking too. 


The beautiful layer of this card is from one of the envelopes. I took apart the envelope and cut part of it down to 5" x 3 3/4". I then used another part of the envelope to use on the flap of a Basic White envelope in it's place. I think this card turned out beautifully!


This card is my favorite of all the ones I created. I felt that it allowed me to be the most creative. I had bits and pieces left and allowed the pieces speak to me. 


I had so much fun playing around with the Expressions of Kindness kit. I loved the color scheme of this kit, and will continue to create and finish up all the parts and pieces I still have left. 


Did you know that Stampin' Up! has 3 kinds of kits available? All of Stampin' Up! kits are accessable for any kind of stamper, from beginning to avid crafting, there is a kit for everyone! Check out my YouTube video for more details on how I made my cards as well as the types of kits available.


You can view all the different kits in the Kits Collection here. Be  sure to check back for details on Bonus Days beginning on July 3rd as well as new Online Exclusives releases. 


Happy Stampin',

Mary Blocher
Mary's Stampin' Café

/>